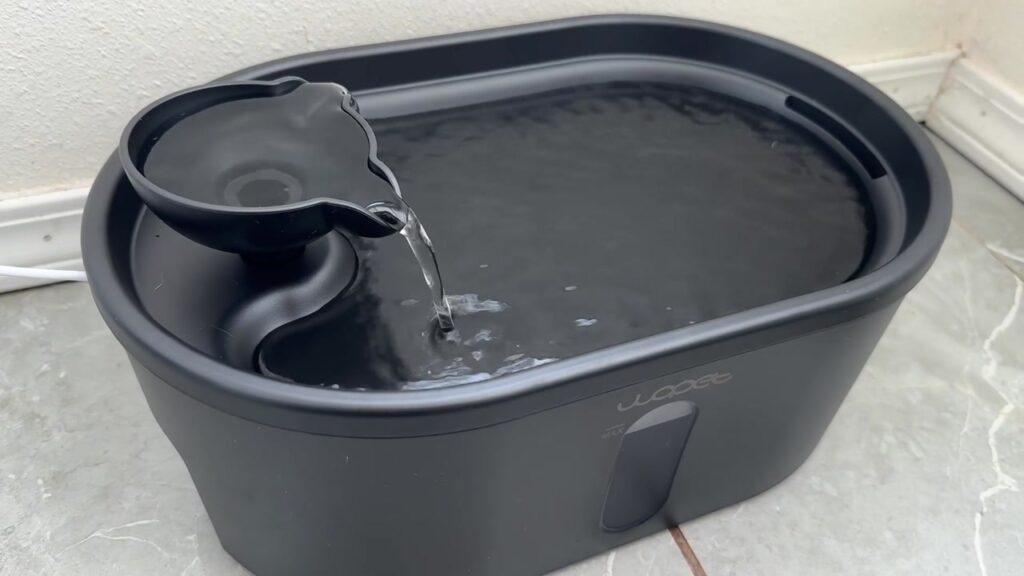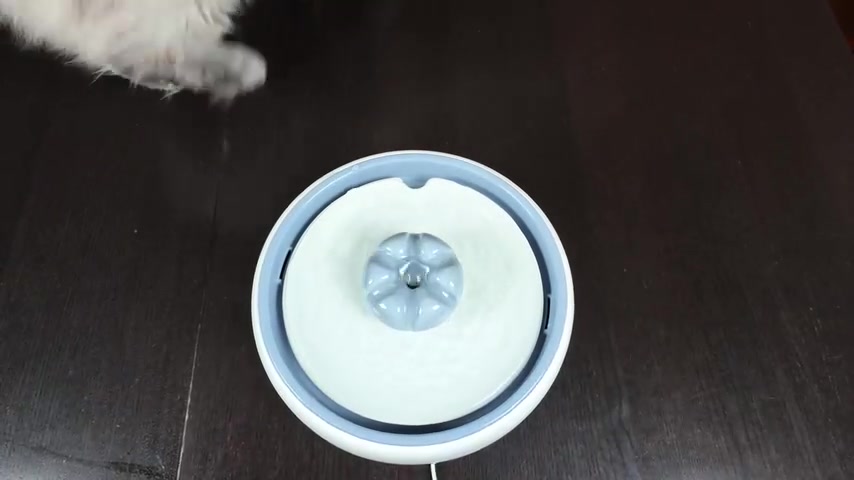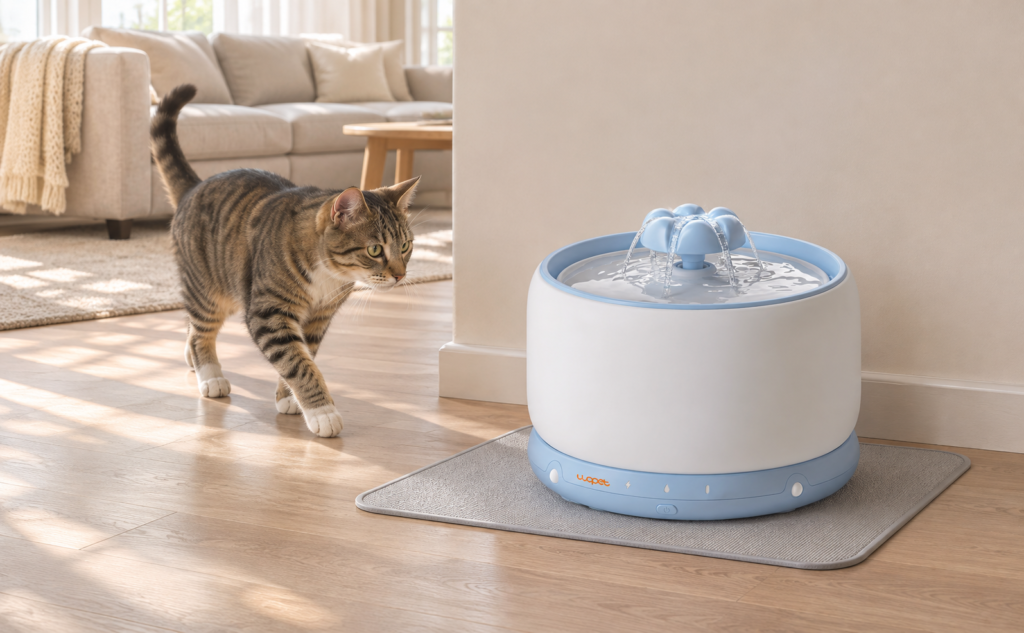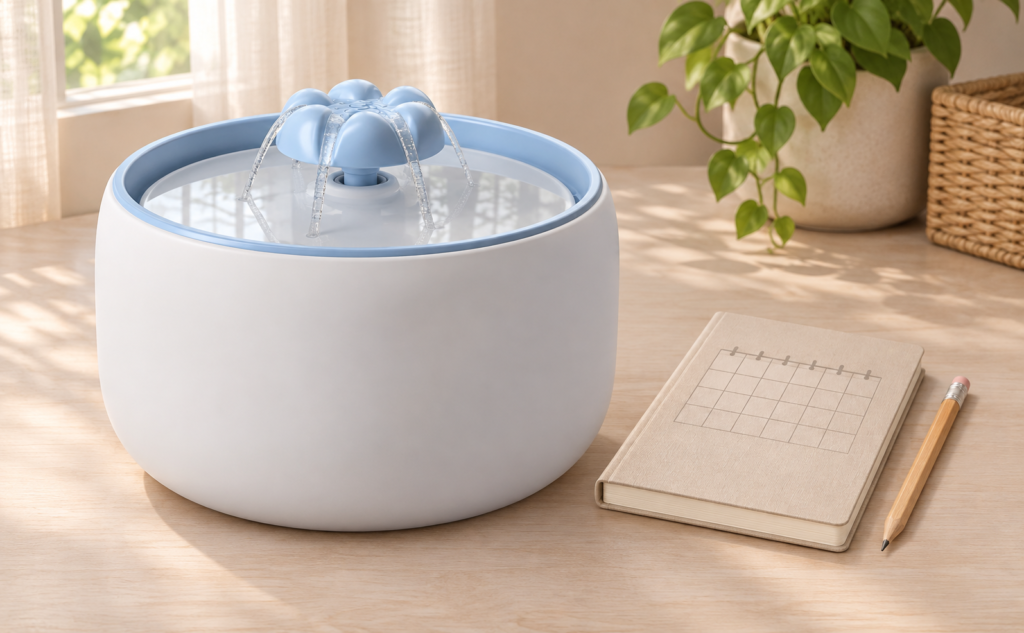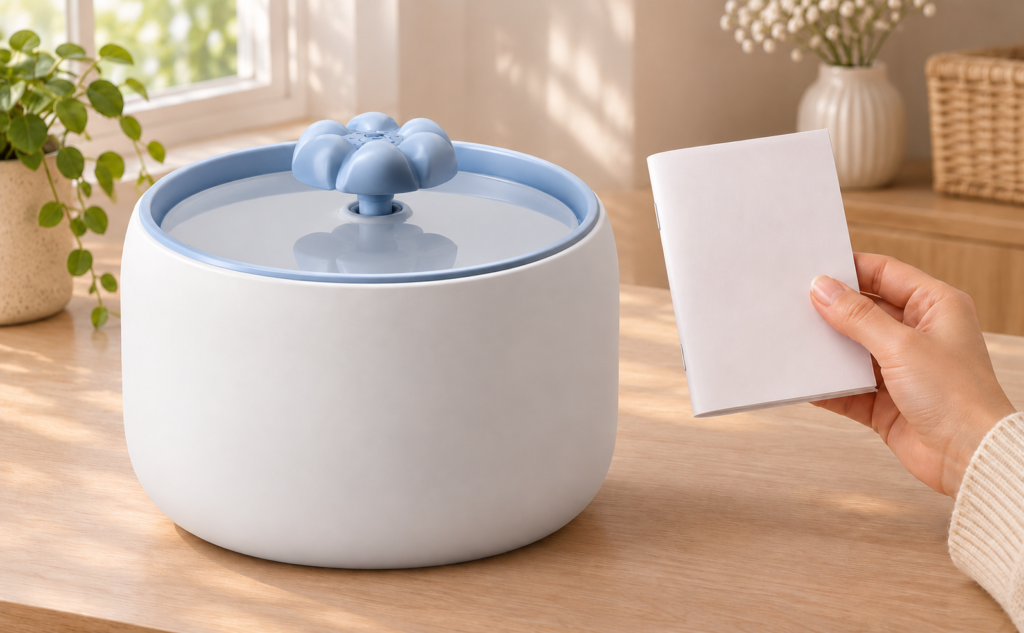

A quick rinse of the top tray leaves the pump and its small water passages untouched. To clean the WOPET Basin W600 Plus properly, unplug it, lift off the tray and filter assembly, remove the pump, and open its removable cover so you can clean the impeller and housing.
The official video shows these parts being removed and washed. You will need a soft sponge or cloth, a small soft cleaning brush, a clean bowl for the loose pump parts, and mild soap with warm water. Keep the adapter and plug outside the washing area.
How often should you clean it?
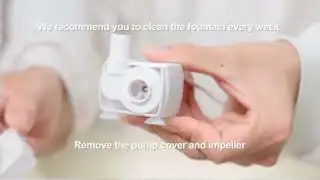
The video recommends cleaning the fountain every week. The linked manual gives a minimum fountain-cleaning interval of once every two weeks and recommends pump cleaning every two weeks. Use a weekly full clean as a practical routine, and clean sooner whenever you notice slime, food, heavy hair buildup or reduced flow.
| Task | When |
|---|---|
| Check water level and visible debris | Daily; refill and remove debris as needed. |
| Wash the tank, tray and spout | Weekly following the video; sooner if dirty or slippery. |
| Open and clean the pump | Every two weeks per the manual; sooner if debris or weak flow calls for it. |
| Replace the filter | Every 2–3 weeks per the manual; more often with heavier use or several pets. |
| Inspect the cord and fittings | At every clean; stop use if damaged. |
1. Unplug and empty the fountain
Disconnect power before touching the pump or taking anything apart. Move the dry adapter and plug away from the sink. Lift the water tray off the tank carefully so trapped water drains back into the bowl, then empty the old water.
Remove the spout and the filter tray from the water tray. Take out the filter and keep it separate from the soapy washing water. Replace it if it is due for a change or heavily soiled; washing the carbon filter with detergent does not renew it.
2. Remove the pump without pulling the cable
Release the cable from its rim slot and disconnect the pipe as needed to free the pump. Gently release the suction cups and lift the pump by its body. Pulling on the cable can strain the connection.
Set the small parts in a bowl or on a tray rather than beside an open drain. Keep track of which cover comes off first so it can go back in the same order.
3. Open the pump cover and remove the impeller
Remove the outer pump cover, then the impeller cap. Gently lift out the impeller—the small rotating part inside the pump. The video shows the front opening exposed before the loose parts are rinsed.
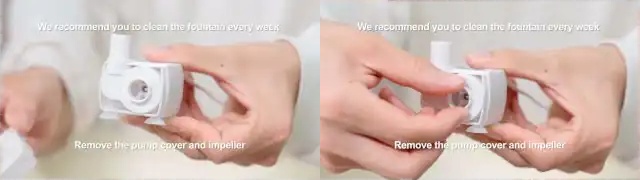
Only remove the serviceable covers and impeller shown here and in the manual. Do not pry open the sealed motor body or pull on the cable entry. If the covers or impeller on your pump look different, stop and check the instructions for that hardware version.
4. Clean the pump housing and small parts
Use mild soap and warm water to clean the removable pump parts, as instructed in the manual. Gently brush away hair and deposits from the inlet, impeller and accessible cavity. The video shows rinsing the pump and using a small brush on its parts.
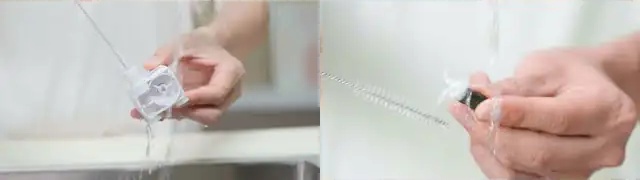
Rinse away all soap before reassembly. Do not immerse the adapter or electrical plug. A pump that is designed to sit underwater does not make every part of its power supply washable.
5. Wash the tank, tray and removable spout
Wash the emptied tank and water tray with a soft sponge or cloth, paying attention to the rim, corners and underside of the tray. Remove hair, food particles and any slippery film rather than rinsing over them.
Lift the spout out of its opening and clean its accessible passages with the small brush. Rinse the tank, tray and spout thoroughly. Avoid abrasive tools that could scratch the surfaces; this guide does not assume the parts are dishwasher-safe.

6. Reassemble, refill and check for flow
Return the impeller to its seat, then refit the impeller cap and outer pump cover. Seat the pump securely in the tank, reconnect the pipe and route the cable through its slot.
If fitting a new filter, soak it in a separate bowl for five minutes and rinse for 30 seconds first. Refit the filter tray, water tray and spout using the W600 Plus assembly guide. Fill within the marked water range before reconnecting power with dry hands.
| After cleaning | Check |
|---|---|
| Pump covers | Fully refitted; no loose service parts left beside the sink. |
| Cable and tray | Cable in its slot; tray sitting evenly on the rim. |
| Water and filter | Fresh water within the marked range; prepared filter installed. |
| First restart | Steady circulation with no new leaks or unusual rattling. |
If flow is still weak after cleaning
Disconnect power again. Check the water level, pipe connection, filter seating and pump covers before trying another restart. See our flow troubleshooting guide if the problem persists. Do not repeatedly run the pump without water or keep dismantling the sealed motor.
For compatible parts and model-specific help, visit W600 Plus product support. Keep a second source of fresh water available for your pets while the fountain is out of use.
Video and step images: WOPET — Basin Pet Water Fountain: How to Assemble & Clean. The video labels the fountain W600; this guide covers the wired Basin sold here as W600 Plus. Compare the pump, tray and fittings with your unit, and follow the W600 Plus user manual supplied for your version if they differ.