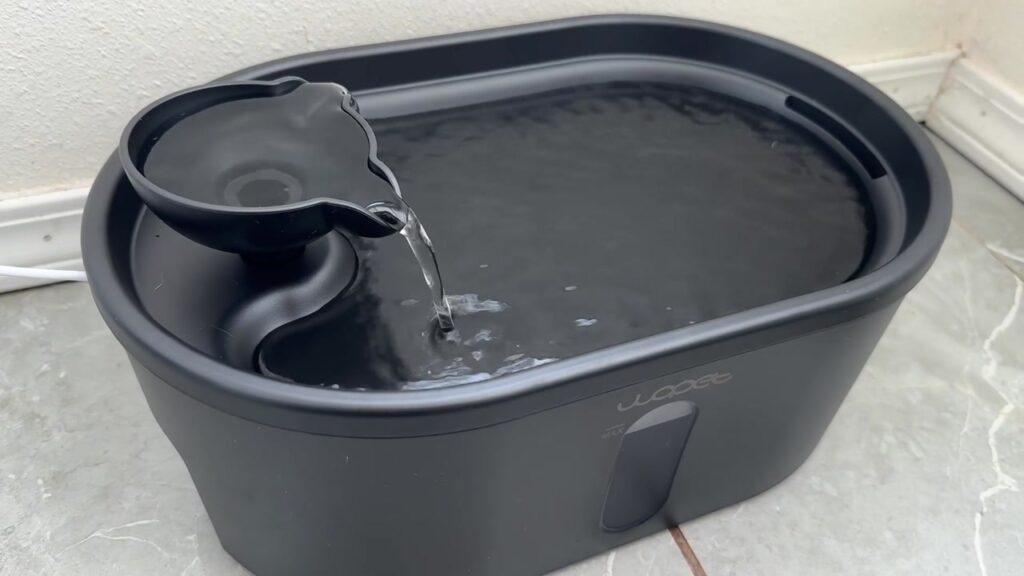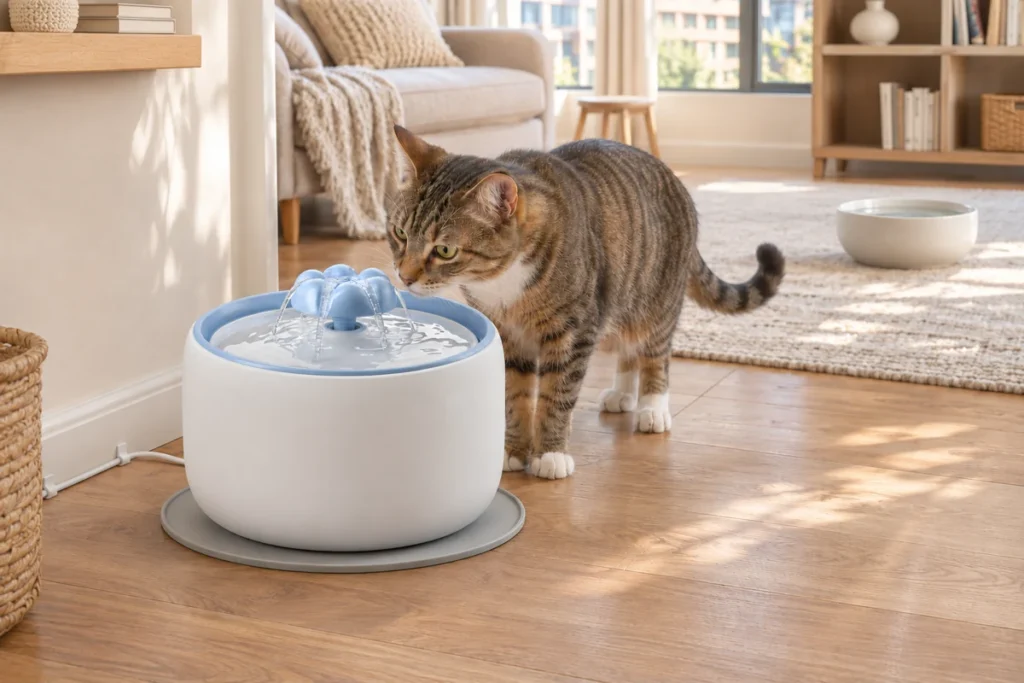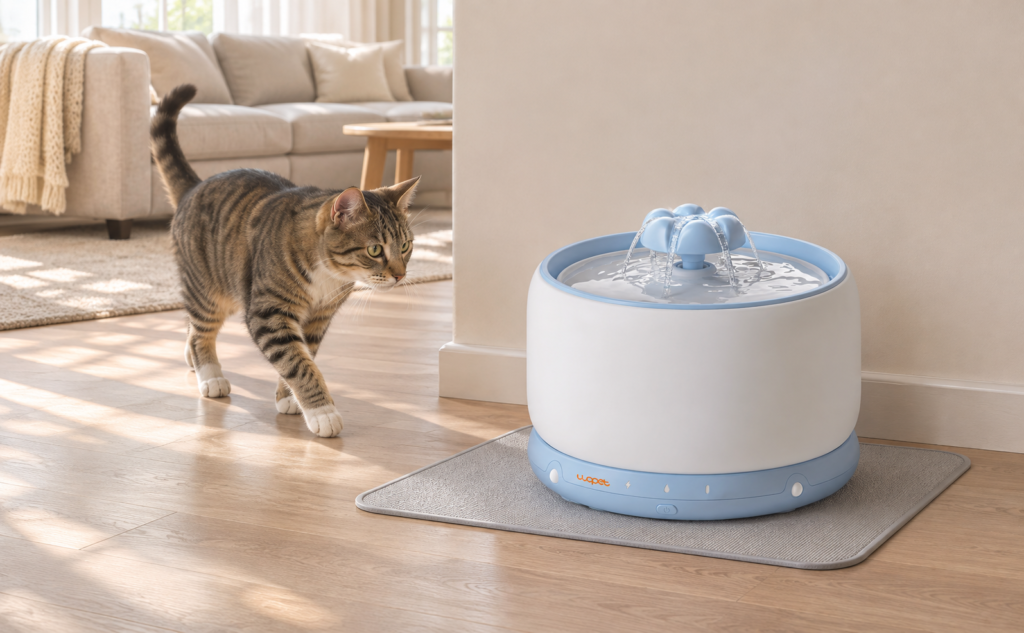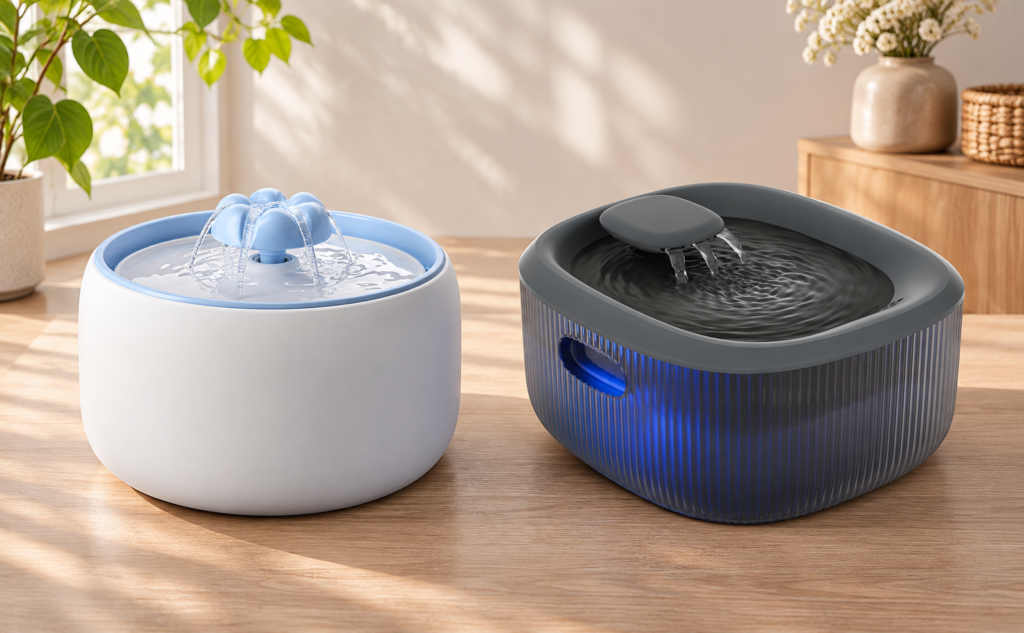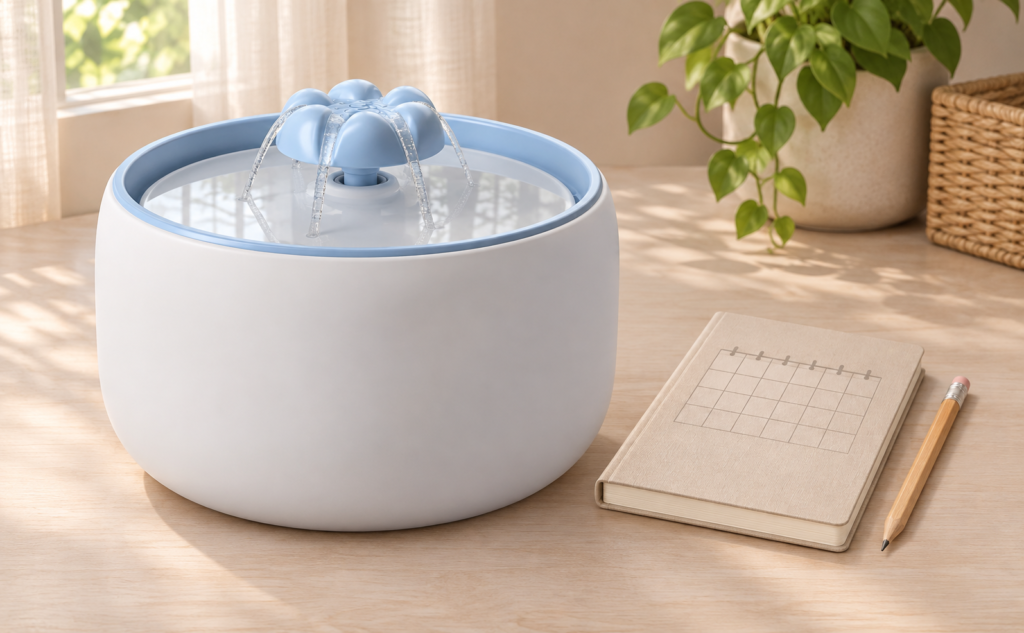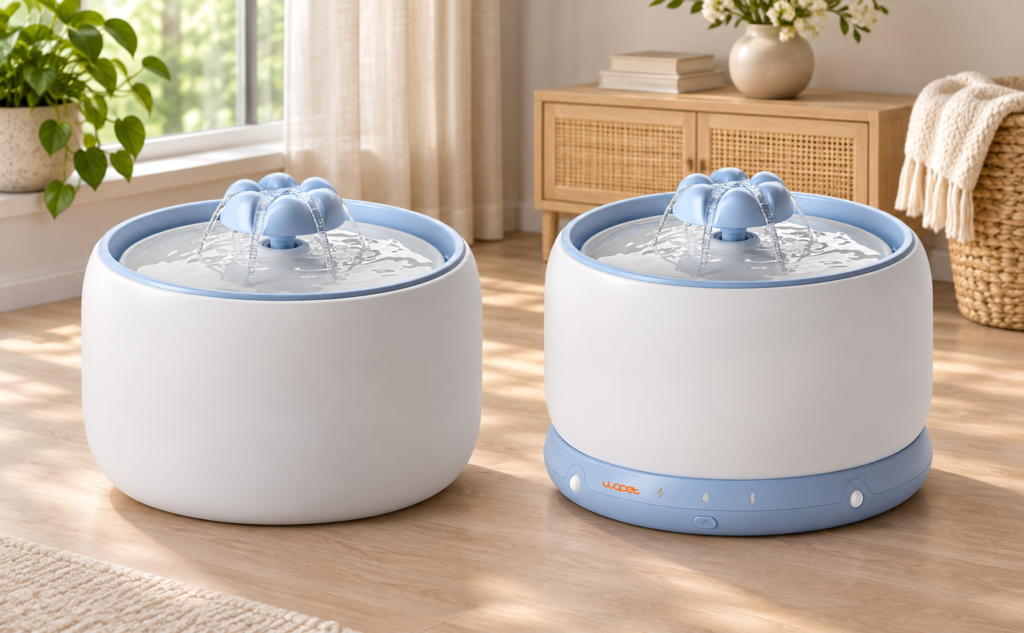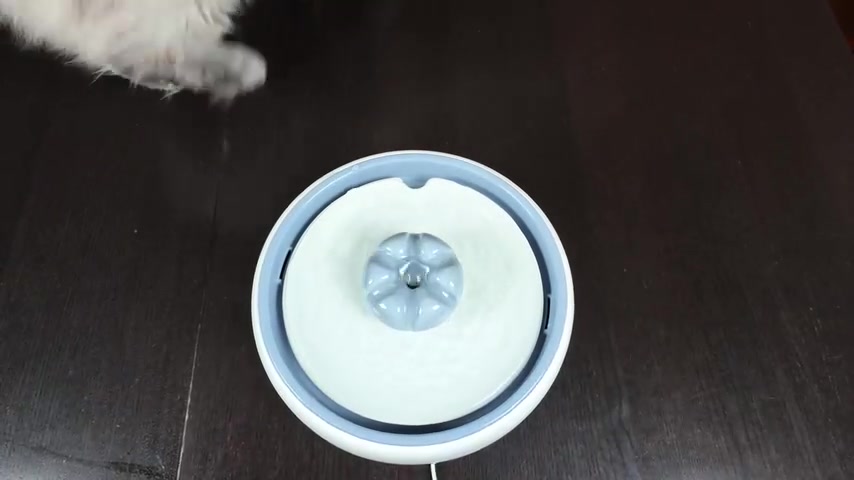

Start with the W03 switched off and its parts laid out on a dry surface. Fit the pump and filter inside the ceramic tank, then add the holder, filter cotton, drinking tray and flower spout. Before turning it on, fill the tank and check that it sits correctly on the rechargeable base.
The photos show the parts being assembled without water. For first use, rinse the washable parts, add water and charge the base as directed in the W03 user manual before switching on.
Check the model first: W03 is the cordless 3L ceramic fountain with a rechargeable base. W03L / W03 Lite is the wired 3L model. Use the instructions for the label on your unit.
What to have ready
- The W03 ceramic reservoir and drinking tray, flower spout, tray holder, primary filter cotton, columnar core filter, foam filter and water-moving unit.
- The rechargeable base, supplied power cable and a compliant DC 5V / 1A adapter.
- Clean water, a soft cloth and a stable work surface. Keep the electrical base and charging equipment away from the washing area.
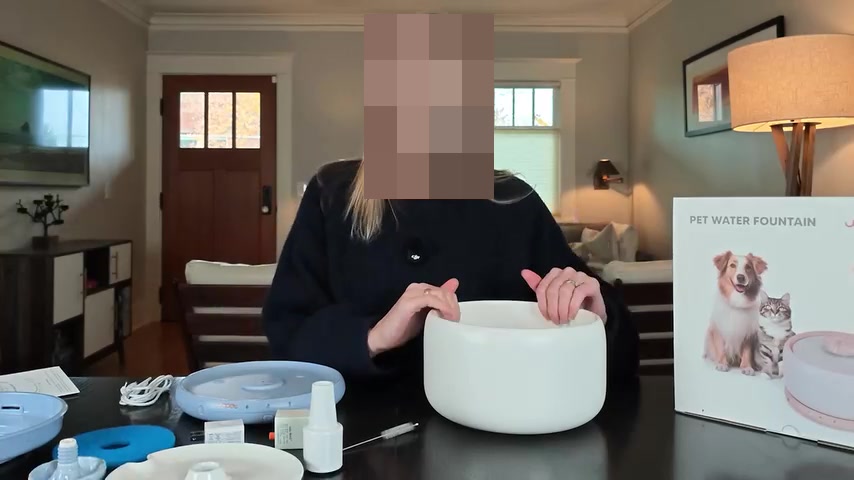
1. Rinse the washable parts and prepare the filters
Start with the fountain switched off and disconnected from external power. Rinse the ceramic reservoir and drinking tray with clean water. Check the instructions supplied with the replacement filters for any preparation required before installation.
Keep the rechargeable base dry. Do not rinse it under a tap or put it in water with the ceramic parts.
Set the primary filter cotton and columnar core filter beside the tank. The columnar filter fits inside; the filter cotton goes in the tray holder above it.
2. Prepare and charge the base
The blue base shown in the video sits beneath the ceramic reservoir. Set it on a dry, level surface and locate its charging connection and controls before putting the reservoir on top. Route the cable where it will not be pulled, trapped or exposed to splashes.
Fully charge the W03 before its first cordless use. Use a compliant DC 5V / 1A supply and follow the charging instructions supplied with your unit.
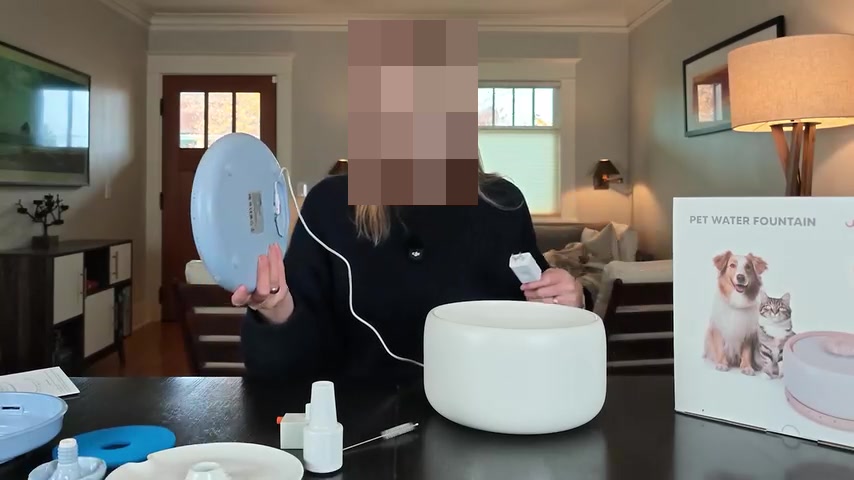
3. Fit the columnar filter and pump assembly
Connect the columnar core filter to the pump as shown in the W03 assembly drawing. Place the assembly in the center of the ceramic tank and check that it sits upright.
Leave the foam filter and pump covers fitted. The video takes a closer look at removable pump parts, but you can leave an already assembled pump closed during setup.

If you have opened the pump for cleaning, finish reassembling its covers and foam filter before fitting it back into the reservoir. See the fountain cleaning guide for maintenance steps.
4. Add water and prepare the tray holder
With the unit off, add clean water within the W03 manual’s stated 1.5–3L operating range. Follow the markings on your unit and leave room for the upper assembly. Do not use an empty reservoir to test whether the pump starts.
Before lowering the blue tray holder onto the reservoir, lay the primary filter cotton in its intended recess, matching the shape and central opening shown in the video. Smooth it into place so it does not bunch up beneath the ceramic tray or cover the central connection.

The primary filter cotton and columnar core filter have different replacement schedules in the W03 manual. Keep their packaging or part names handy when ordering replacements. See the filter replacement guide for help identifying the consumables.
5. Seat the prepared holder on the reservoir
Lower the blue holder and its filter layer onto the ceramic reservoir as shown in the demonstration. Check the central opening and the position of the components underneath. The holder should sit evenly; if one side remains raised, lift it off and check the alignment rather than forcing it down.
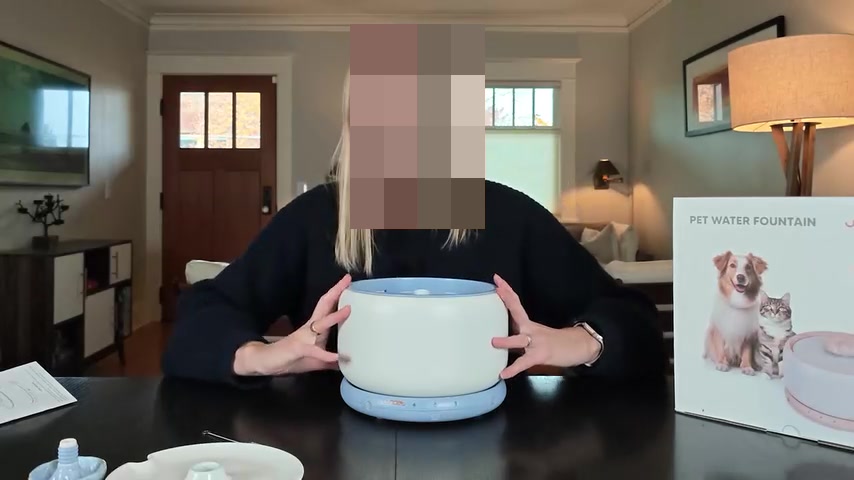
6. Seat the ceramic tray and flower spout
Lower the white ceramic drinking tray onto the holder. Align the center opening and check that the tray sits level all the way around. A trapped edge of filter cotton or a misaligned holder can leave the tray sitting unevenly.
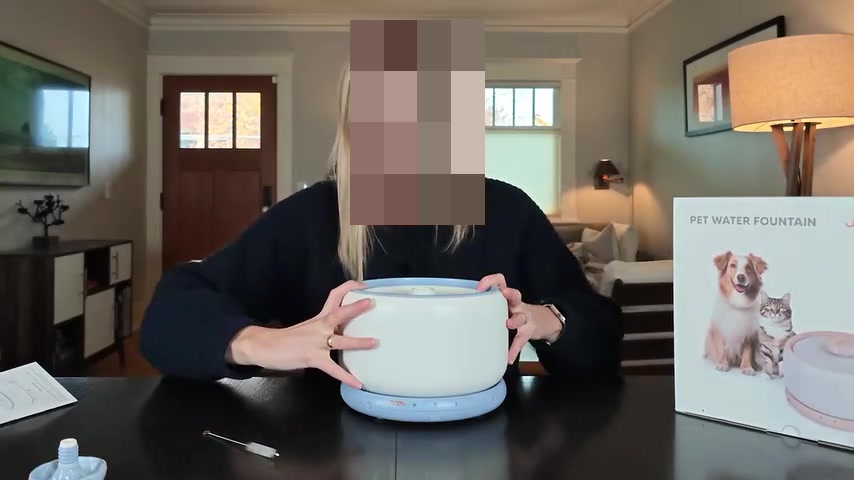
Fit the flower spout onto its central connection as shown in the demonstration. Seat it gently and check that it is stable. If it does not fit naturally, lift it away and recheck the underlying parts; do not use extra force to compensate for a misaligned assembly.
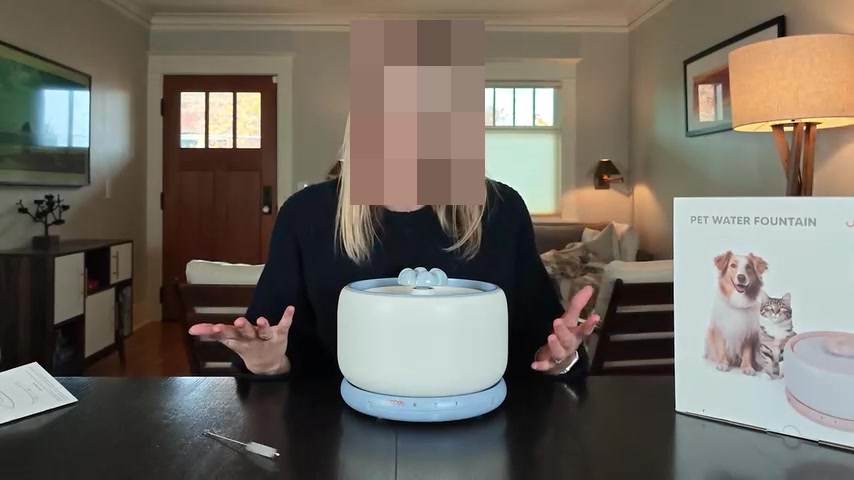
7. Align the reservoir with the base and start the fountain
Align the locating recess on the reservoir with the base as described in the W03 manual. If you assembled the reservoir off the base, support it securely when returning it, especially after adding water. Keep the outside and the base dry.
Once the fountain is filled and correctly seated, press and hold the power button for 3 seconds to turn it on. Watch the first operating cycle and check the tray, spout and surrounding surface for unexpected leaks. Stop the fountain before making an adjustment.
A pause can be normal: in battery-powered induction mode, the W03 dispenses water for about 20 seconds after detecting activity. Continuous regular flow requires external power. Do not interpret the end of a normal sensing cycle as an assembly fault.
Before you finish
| Check | What you want to see |
|---|---|
| Water level | Within the marked operating range; never running dry |
| Pump and filters | Correct parts fitted in their specified positions |
| Holder and tray | Level, with no trapped filter material |
| Flower spout | Seated on its central connection |
| Base and connections | Dry, correctly aligned and stable |
| Flow | Consistent with the selected power arrangement and operating mode |
| Surroundings | No unexpected leaks or cable strain |
Once the setup is working, place the fountain where your cat can approach comfortably and keep a familiar water bowl available during the transition. Our guide to introducing a new fountain covers the next steps.
If water does not come out after assembly
Check the power state, fill level and tank-to-base alignment first. Then, with power off, check that the pump, filter, holder, tray and spout match the assembly drawing. Do not keep pressing down on the tray or repeatedly restart a dry unit.
If the water indicator turns red, check the water level. For slow or interrupted flow, inspect the permitted accessible components and follow the no-flow troubleshooting guide. If the fault remains, contact W03 product support with a photo of the model label and assembled unit.