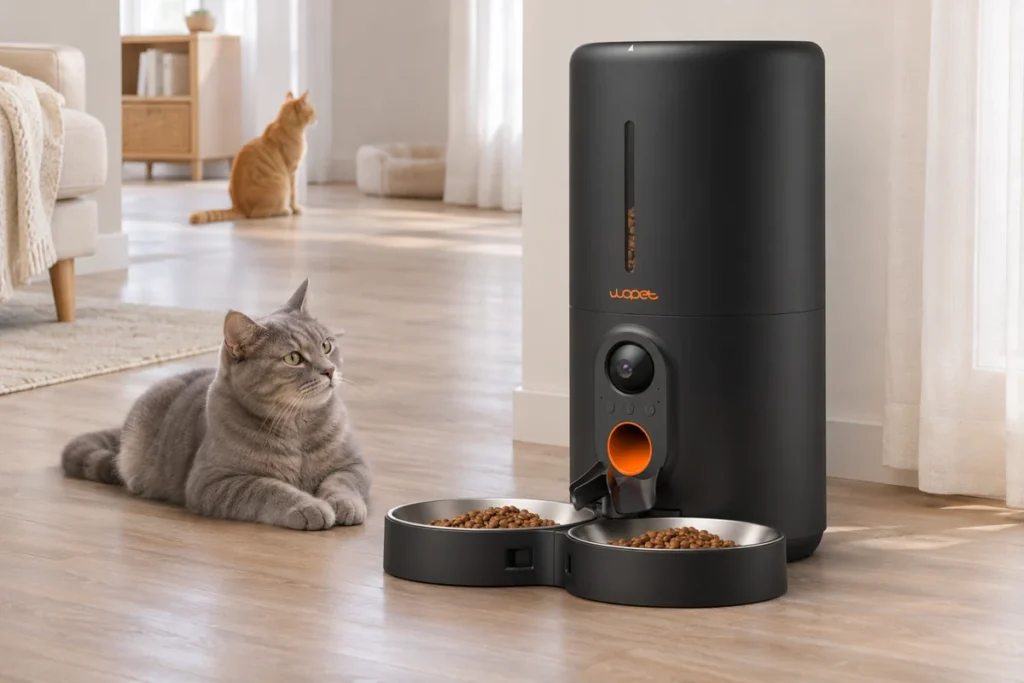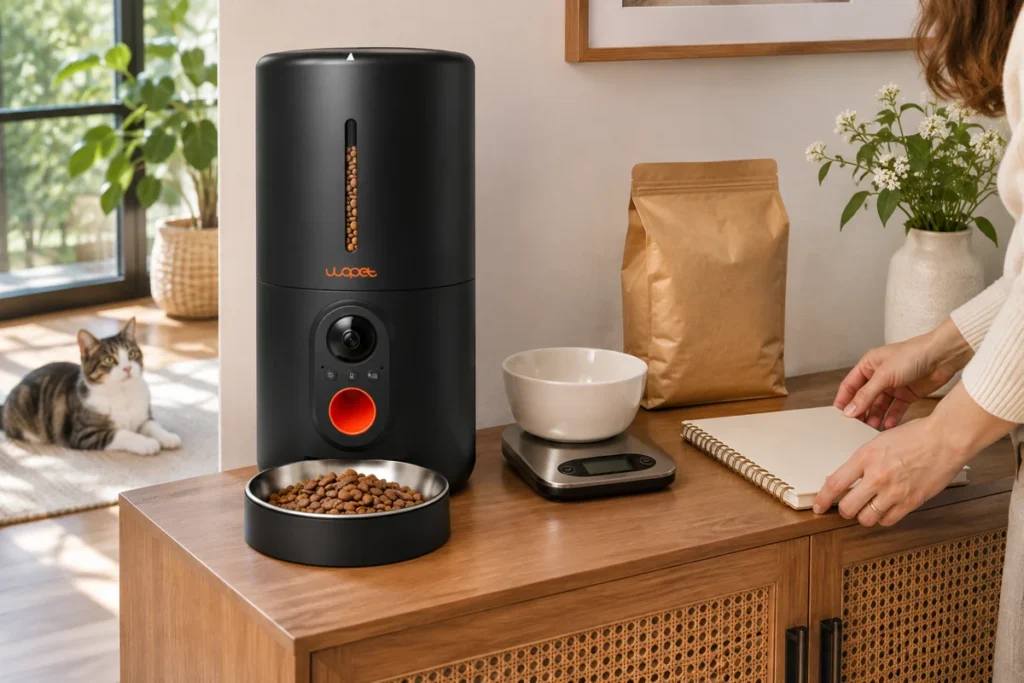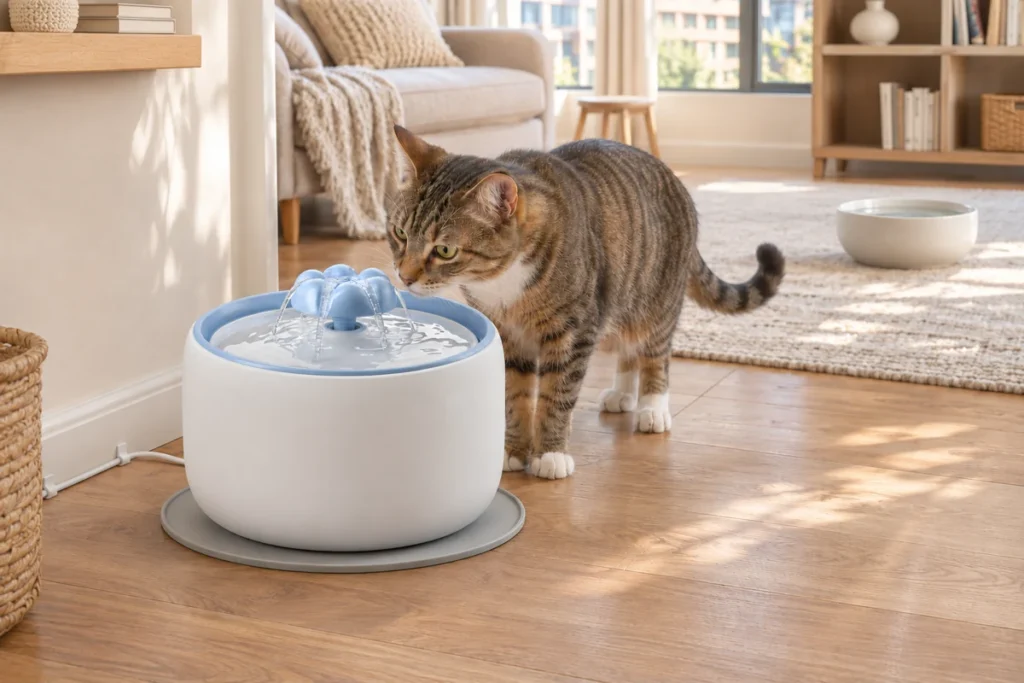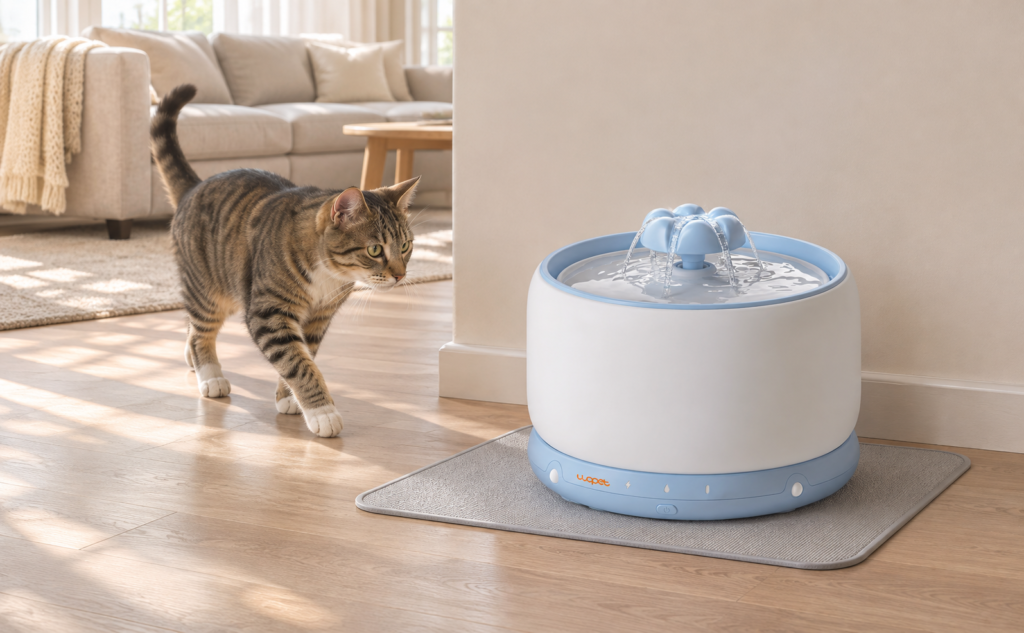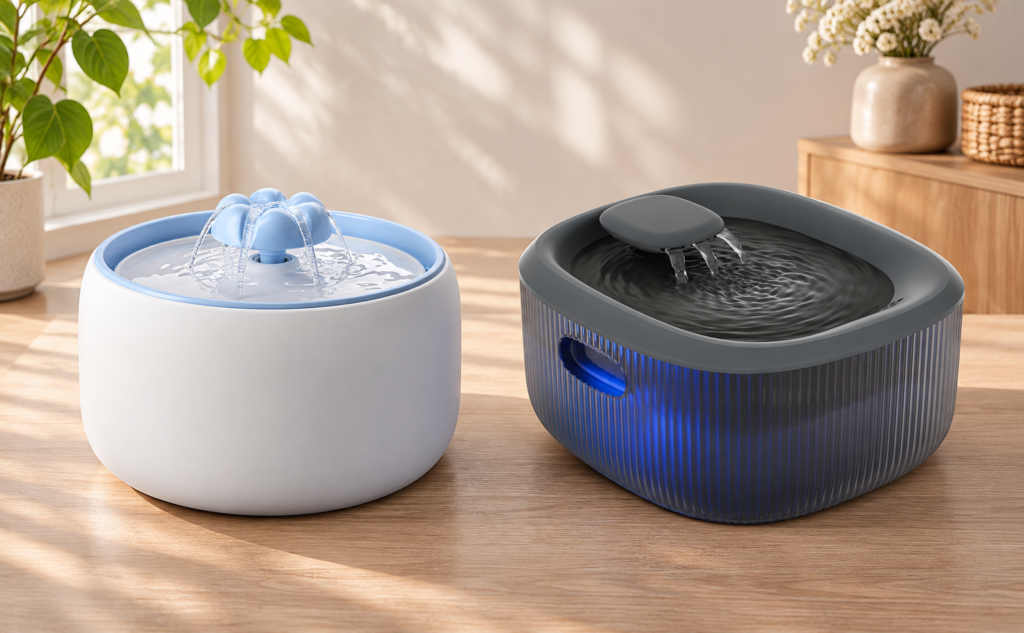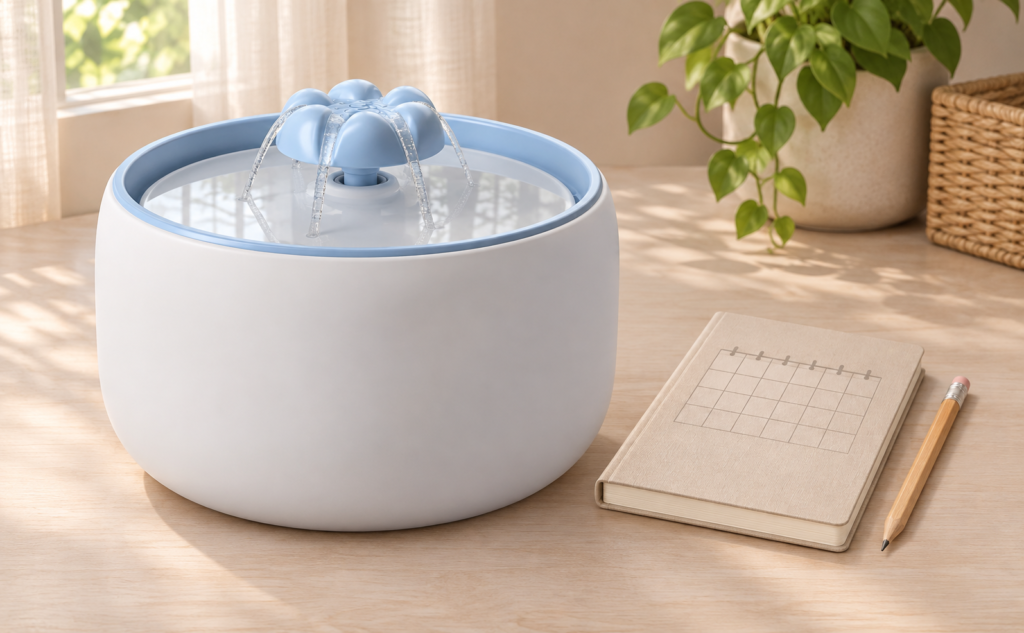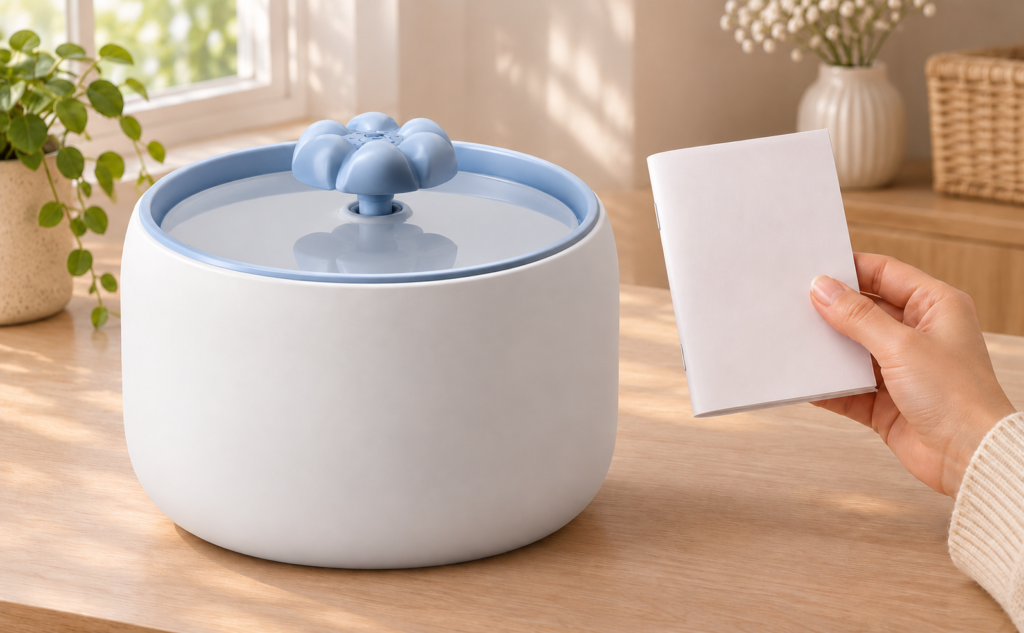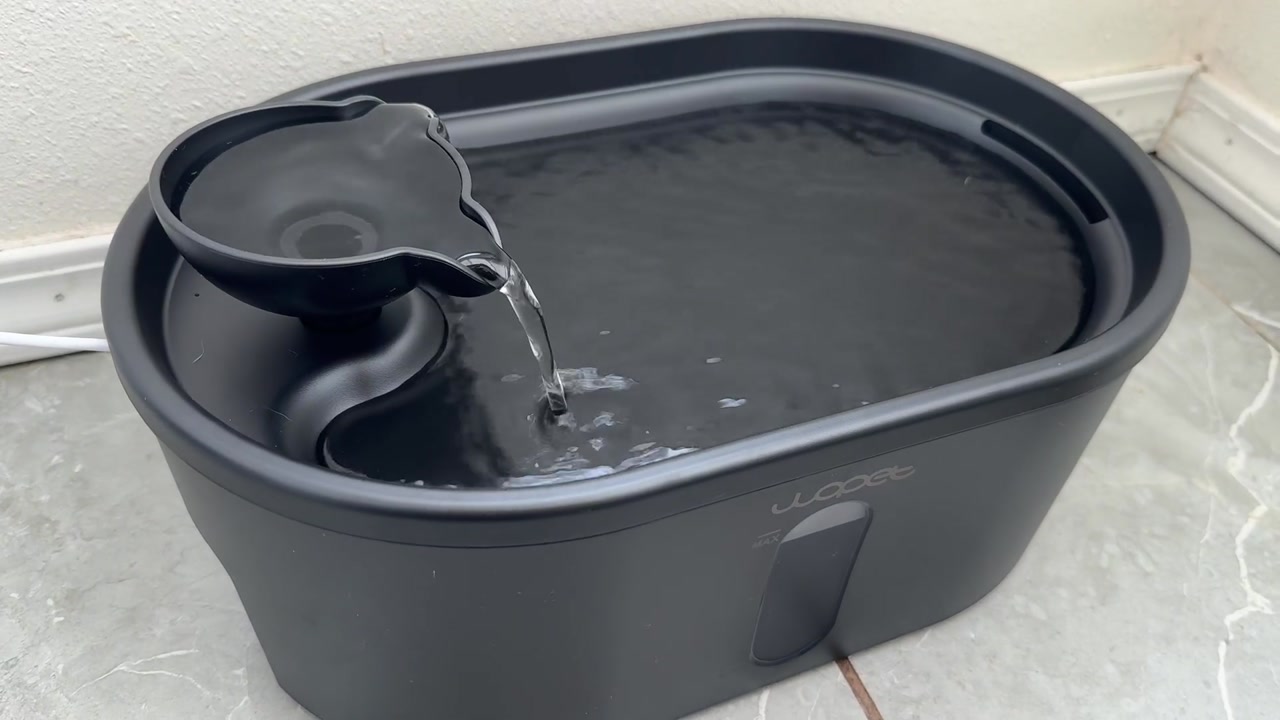

Keep the WOPET A08 unplugged while you fit the filter, pump, silicone tube and water outlet. Once the parts are seated, add water up to the marked level, replace the cover and connect power. Watch the first run for leaks and steady flow into the drinking tray.
Use the photos to check how the parts fit together. The A08 user manual provides the assembly drawing and filter-rinsing instructions.
Model: A08, 8L. This is a plug-in fountain for cats and dogs, including multi-pet homes. Keep its power connection dry and leave the cable clear of walkways.
Parts to check
- Reservoir and top drinking cover.
- Raised faucet / water outlet.
- Filter element, filter tray and upper filter cover.
- Water-guide silicone tube and wired pump.
- Power adapter, cleaning brush, anti-slip foot mats and manual.
Lay everything on a stable surface and remove transport packaging. Keep the power disconnected throughout assembly. Inspect the cord and parts for damage before use.
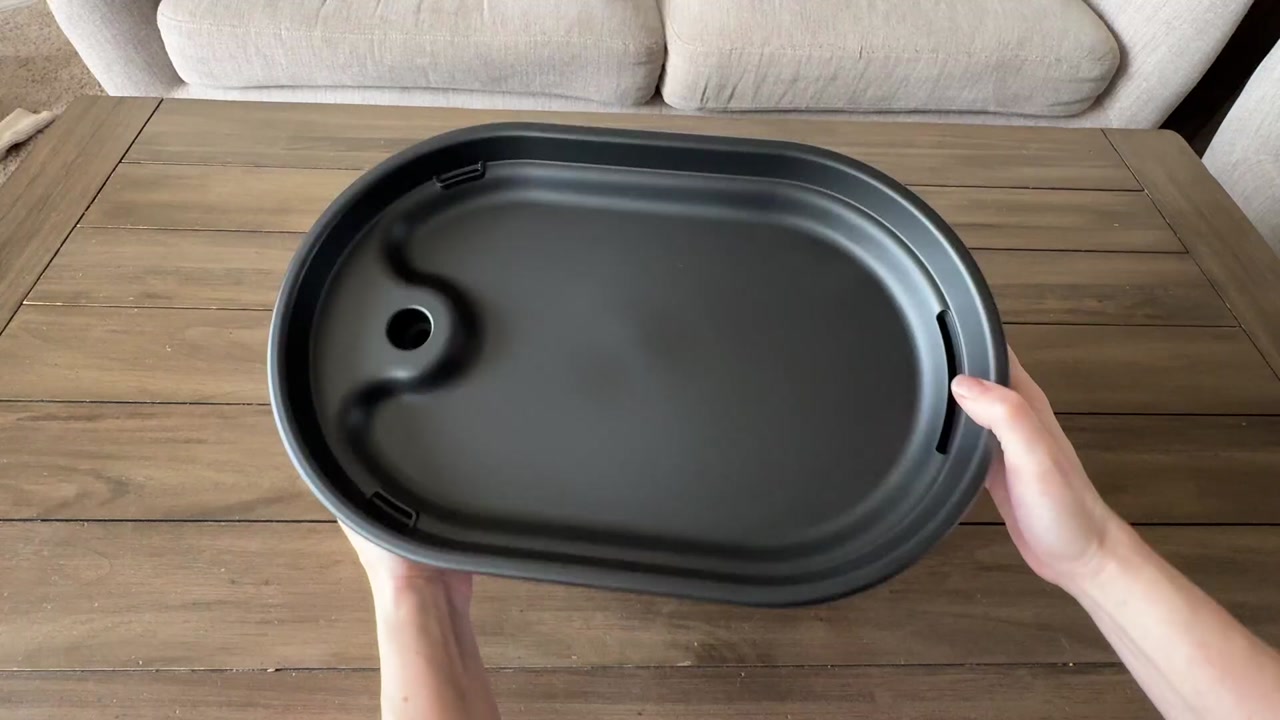
1. Rinse the removable parts
Rinse the reservoir, drinking cover and other removable water-contact parts according to their care instructions. Keep the adapter, plug and electrical connections out of the washing area. Do not immerse the power cord or plug.
Set up on a level, water-resistant surface where a spill will not reach electrical equipment. Keep children supervised around the appliance, and prevent pets from chewing the cable or swallowing small parts.
2. Prepare the filter and refit its holder
Find the black filter holder beneath the top cover. Open it and lift out the white filter element. Remove any transport wrapping, leaving the filter material intact.
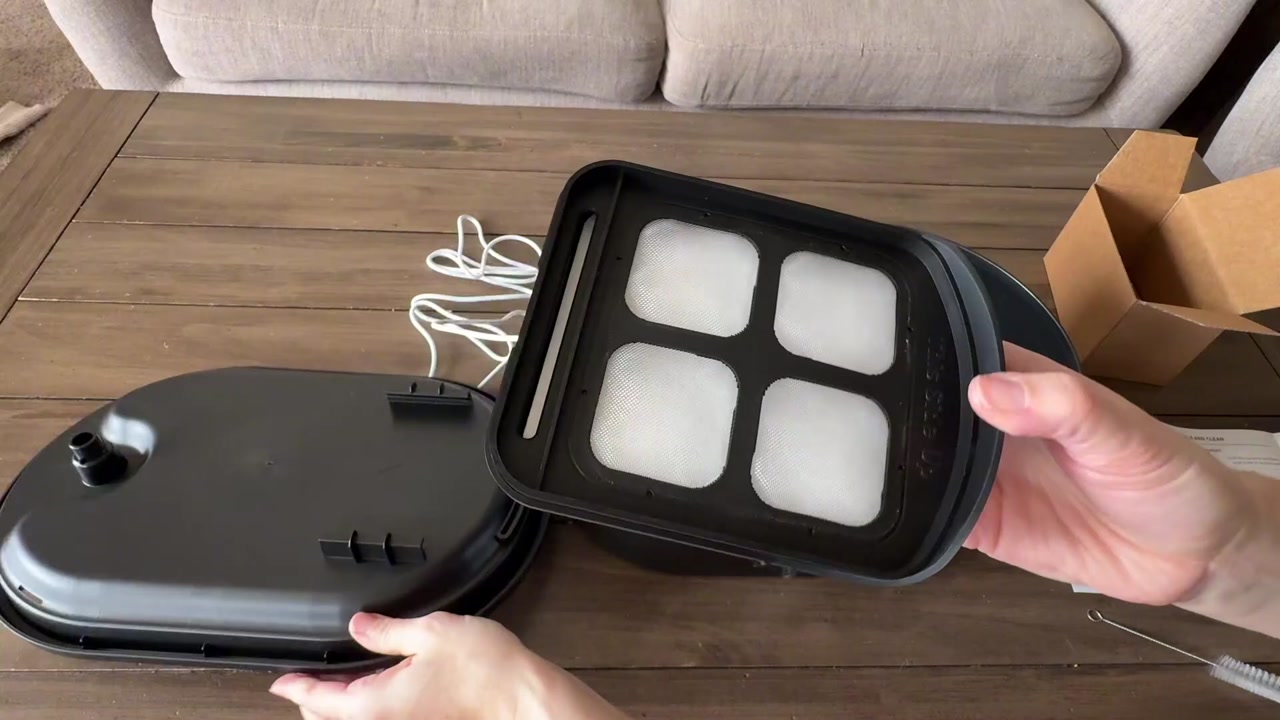
The A08 manual instructs rinsing the filter element for 30 seconds before use. Place the prepared filter back in the matching tray, refit the upper filter cover and return the assembly to its position beneath the drinking cover. Match the shape and retaining points rather than forcing a corner into place.
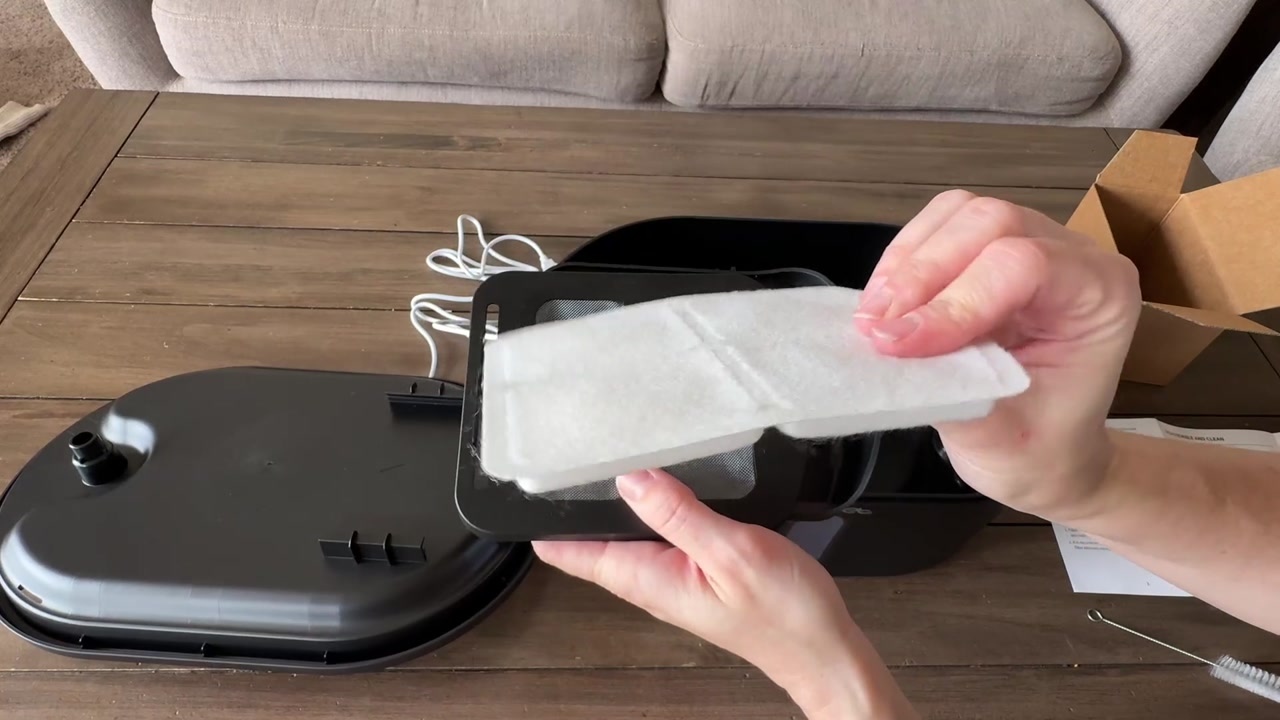
Use replacements intended for A08. Similar-looking filter material from another fountain may not fit the holder or water path correctly. See the filter replacement guide for compatibility and replacement advice.
3. Fit the water outlet and silicone guide tube
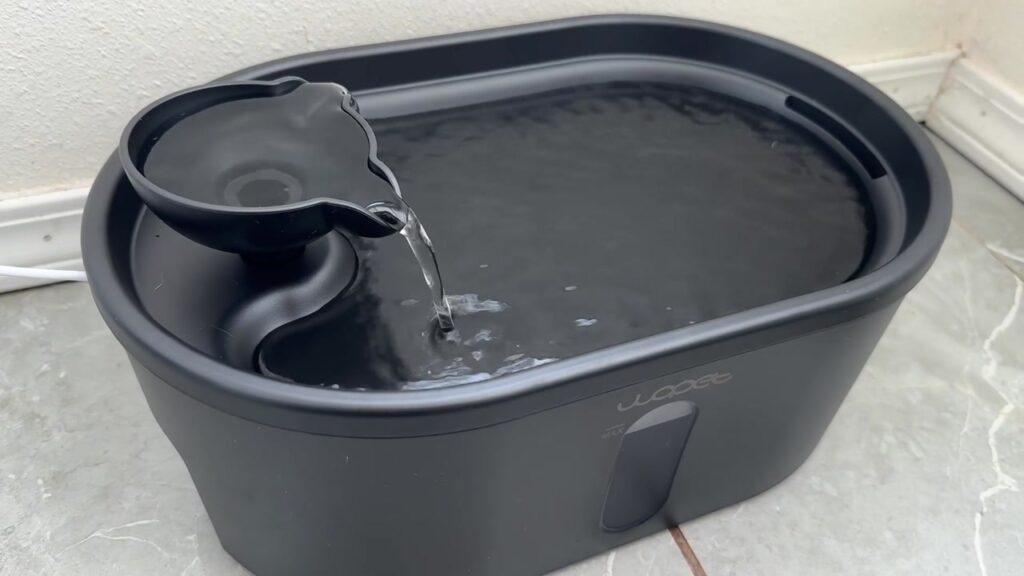
Install the raised water outlet in the opening on the top cover. It should sit securely in the position shown in the manual, with its pouring edge facing into the drinking area.
Fit the silicone water-guide tube onto the pump connection shown in the assembly drawing. Check that the tube is seated properly and is not folded or twisted. When the top cover is lowered later, the water path must line up with the outlet above it.
If the tube does not fit naturally, check its position against the assembly drawing before continuing.
4. Position the pump and route its cable
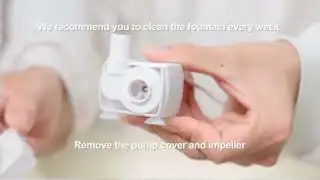
Place the wired pump in its designated position inside the reservoir, following the A08 diagram. Check the pump and tube alignment before putting the top cover back on.
Route the pump cord through its intended guide so it will not be pinched under the cover. Keep the external cable connection dry and accessible. There is no need to open the pump’s impeller compartment for first assembly if the pump is already correctly assembled.
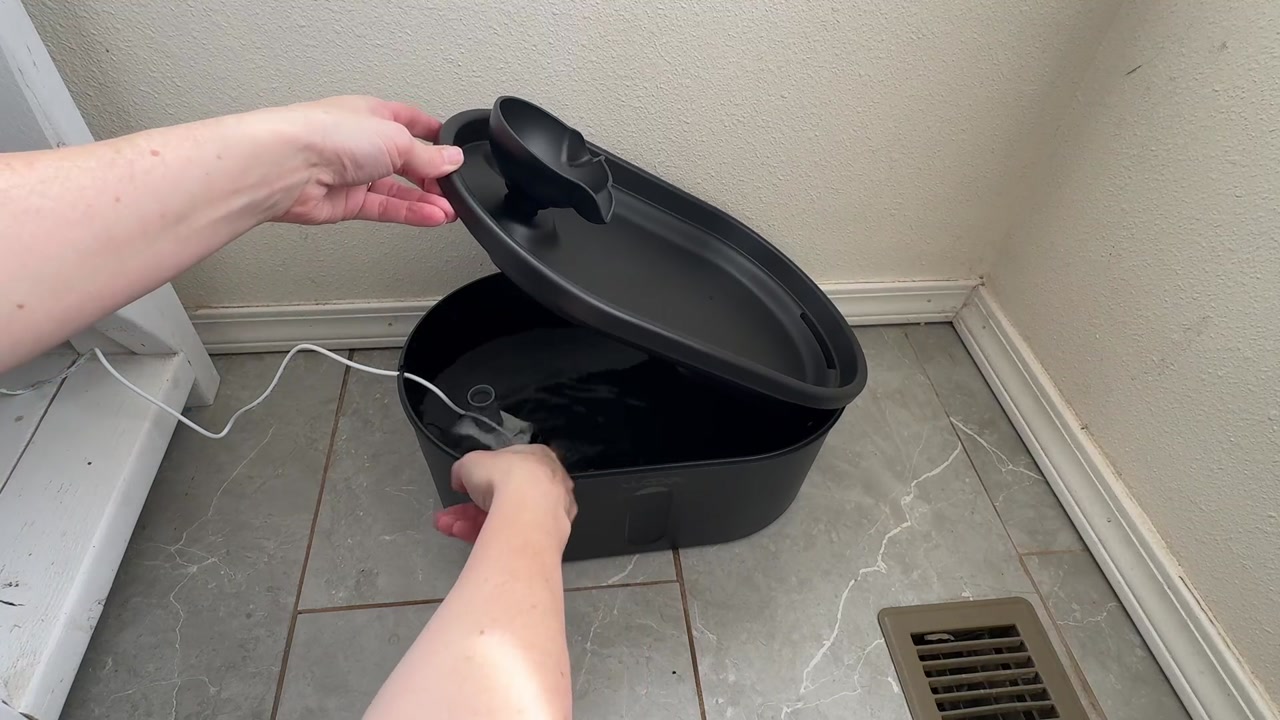
5. Add water and seat the top cover
With power still disconnected, fill the reservoir with clean water within the marked operating range. The A08 holds up to 8L, but the maximum mark—not the rim—is the filling limit. Keep the level above the minimum required for operation and never run the pump dry.
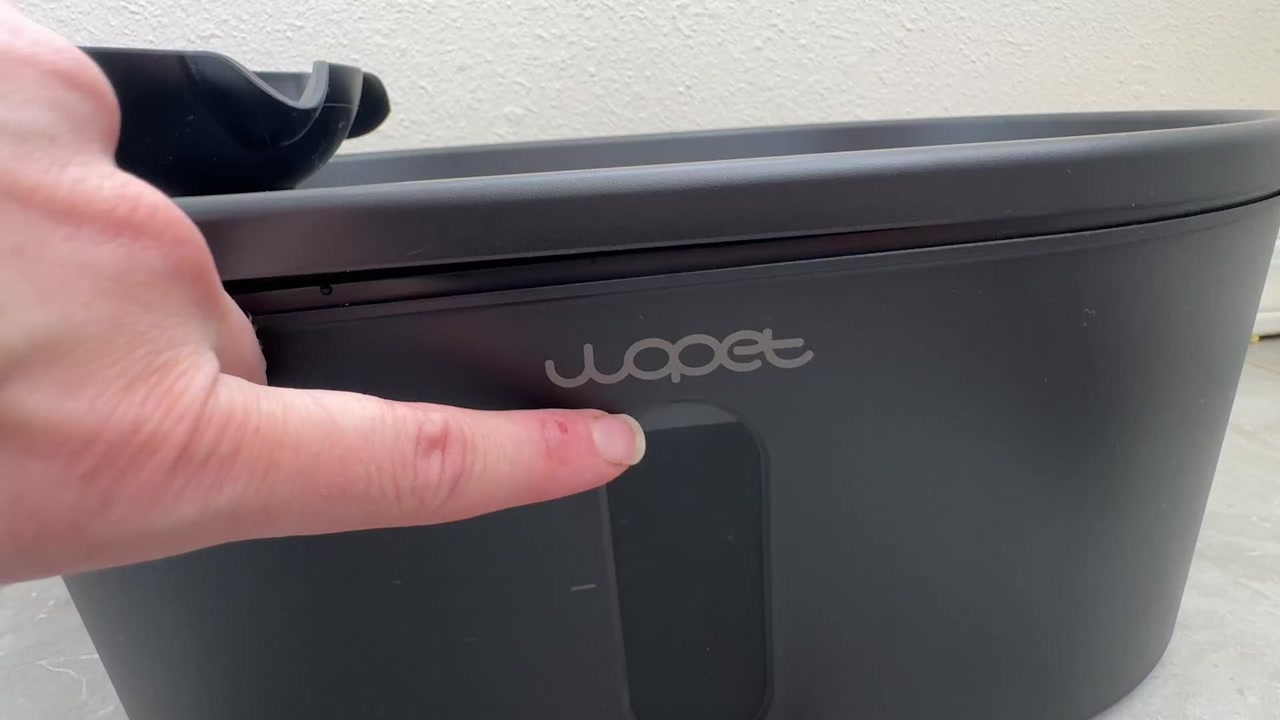
Lower the top cover carefully, checking that the pump, tube, filter assembly and outlet remain aligned. The cover should rest evenly around the reservoir. If it sits unevenly, lift it and look for a displaced tube, trapped cable or incorrectly seated filter holder.
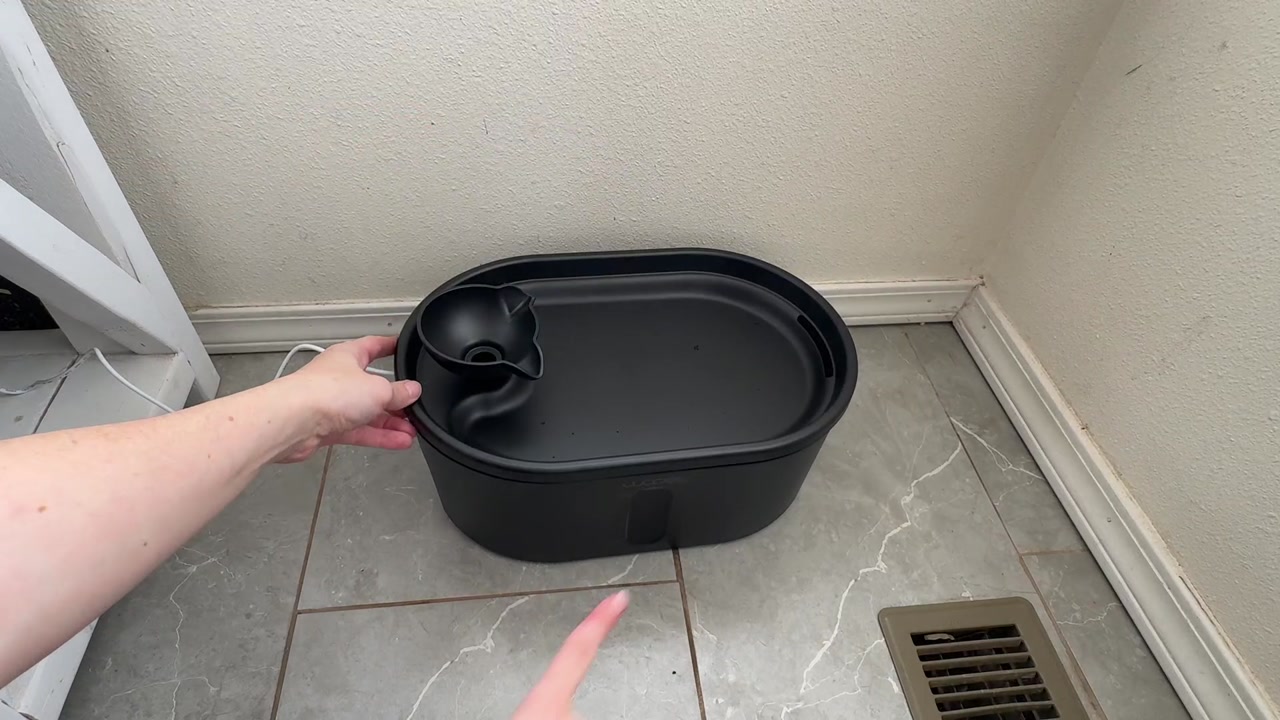
6. Connect power and check the flow
Dry the outside and confirm the electrical connections are dry before connecting power. The A08 manual specifies DC 5V and recommends a 1A or 2A adapter. Use the supplied compatible power setup and follow the manual’s connection order.
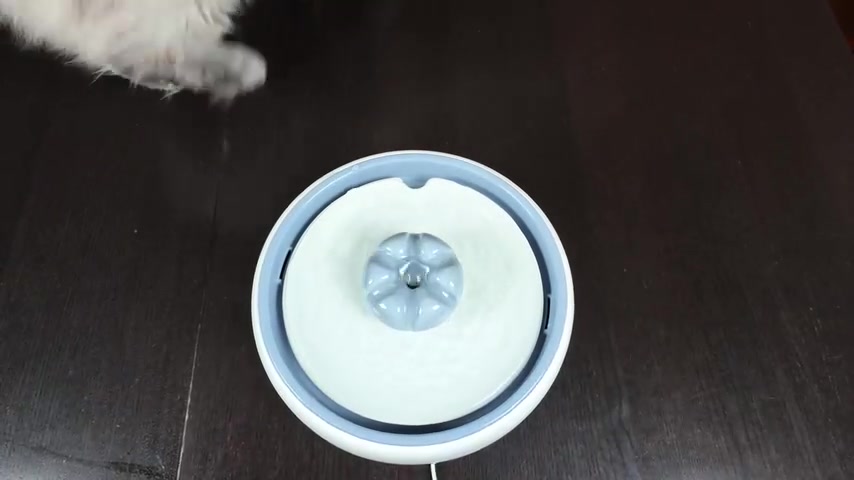
Observe the first run. Water should travel from the raised outlet into the drinking area, as shown in the video. Check beneath the fountain and around the cover for unexpected leaks. Stop and disconnect power before adjusting any parts.
First-run checklist
| Check | What to confirm |
|---|---|
| Filter | Transport wrapping removed; filter rinsed for 30 seconds and fitted in its holder |
| Pump and tube | Correctly positioned with a clear, seated water connection |
| Cable | In its intended guide, without being trapped by the cover |
| Water level | Within the indicated operating range |
| Cover and outlet | Evenly seated and aligned |
| Power connection | Compatible DC 5V supply; dry plug and connections |
| First run | Water reaching the drinking area without unexpected leaks |
If the A08 does not flow after assembly
Disconnect power before checking the assembly. Start with water level and the compatible power connection. Then check the pump position, guide tube, filter seating and outlet alignment. Lift the cover to check the tube connection underneath if needed.
If flow remains weak, check accessible components for debris and follow the manual’s cleaning procedure. Do not cut the filter, leave required parts out or repeatedly restart a dry pump. Use the pet fountain no-flow checklist or contact A08 product support with a photo of the model label and assembly.
Placement and everyday care
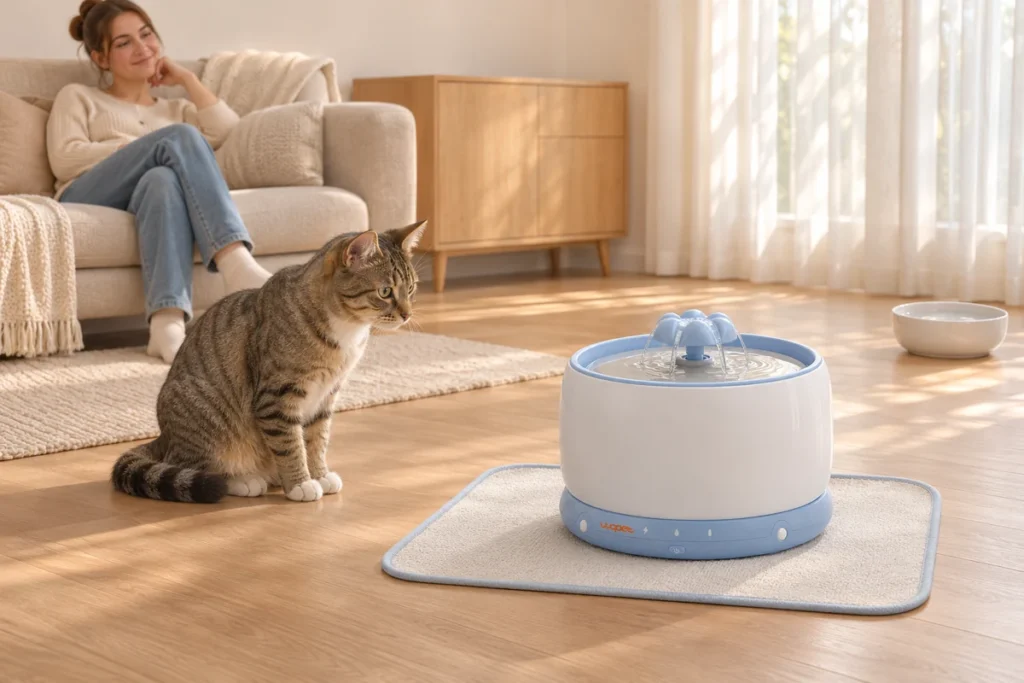
Choose a location with comfortable approach space and a safe cable route. Keep a familiar water bowl available while pets get used to the new fountain. If a dog blocks a cat’s access, add a separate water location rather than expecting the 8L reservoir to solve sharing problems.
Check the water level, cleanliness and flow each day, even when the reservoir still has plenty of water. Our multi-pet fountain capacity guide explains why drinking access matters alongside reservoir size.
Keep the filter, reservoir and pump on a care schedule. The A08 manual includes filter guidance of every 1–2 weeks and a notice recommending water changes and fountain / pump cleaning at least weekly. Check sooner when several pets share it or debris accumulates, and use the instructions supplied with your version.
A08 manual and product resources
- Read the A08 user manual online.
- Download the original A08 manual (PDF).
- View the WOPET A08 8L pet water fountain.
- Find A08 product support.
Photos: frames from the A08 assembly demonstration.